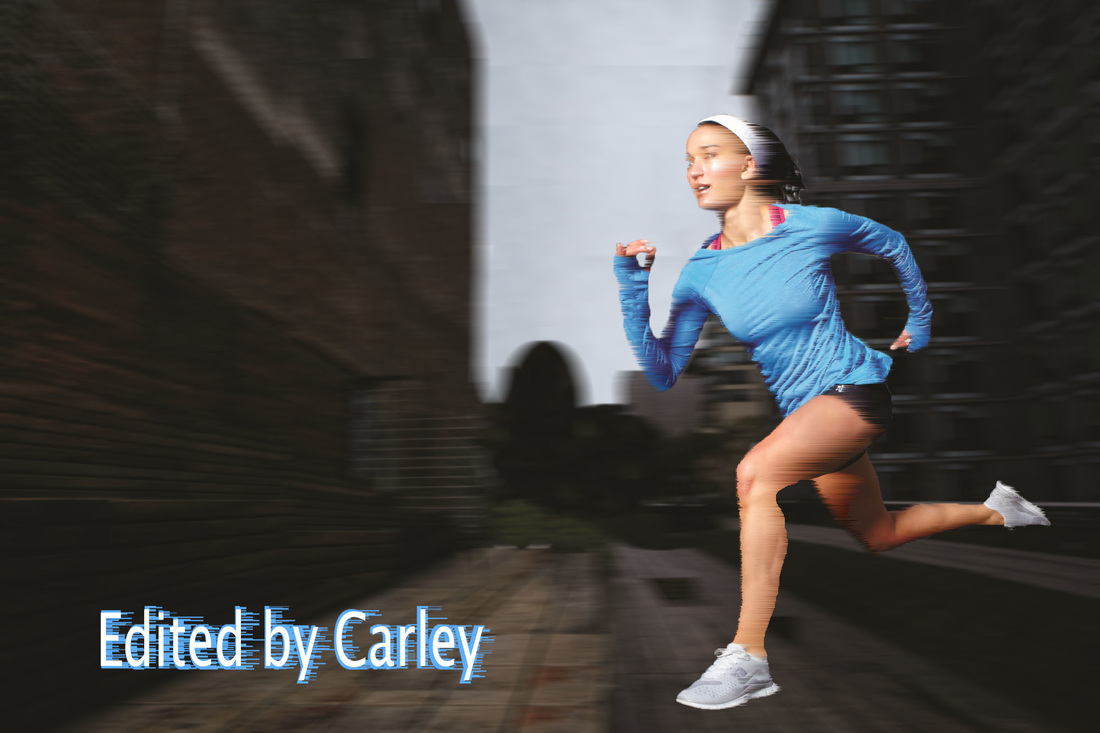
In this photo I moved the runner so she was running into the photo to create a better leading line. I also created a wind affect on the runner by using the stylize wind filtering tool and I used the blur filter on the background.
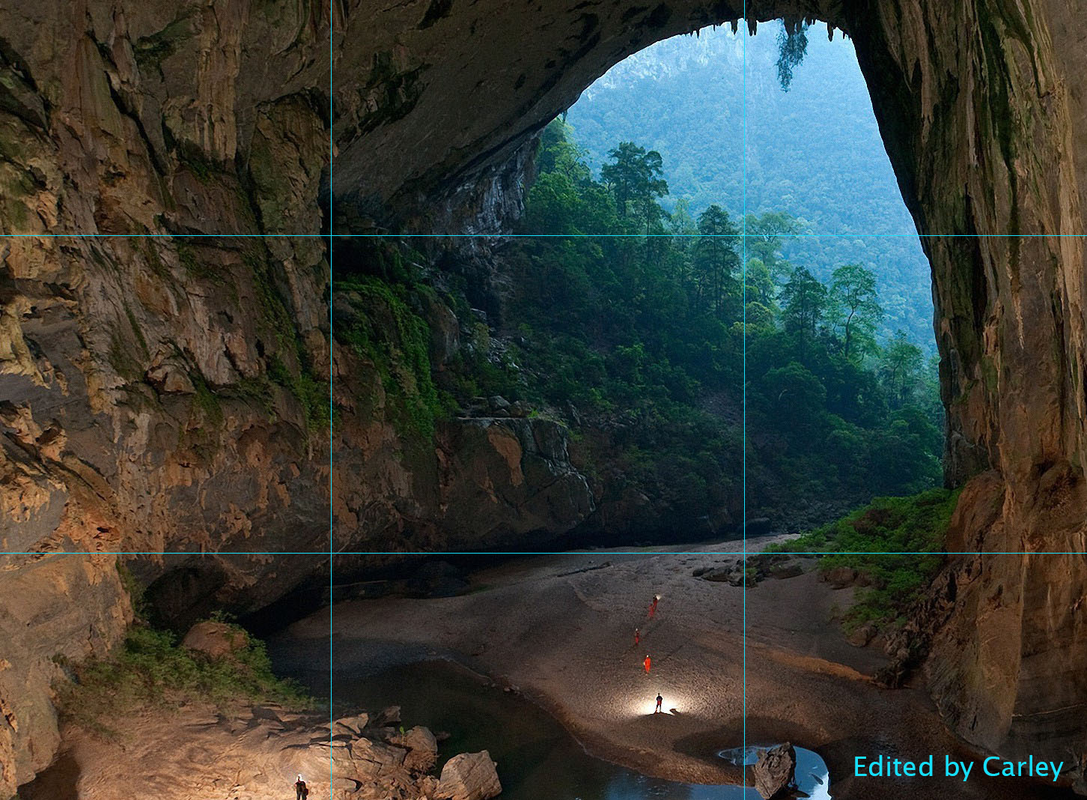
This photo was not positioned to fit the rule of thirds well. I positioned the photo to have the focal point of the entrance of the cave to be in the lower right corner of the photo. I also added grid lines to the photo to better illustrate the rule of thirds.
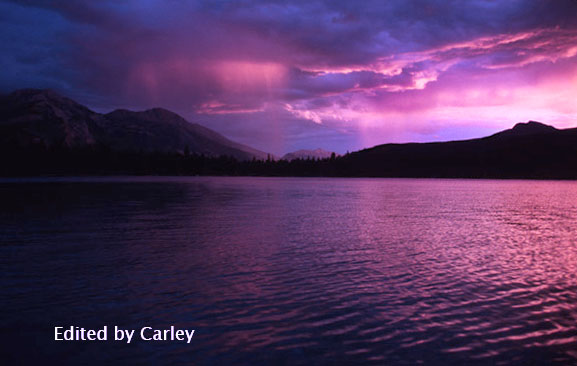
For this image I was experimenting with different filters. To get the purple glowing color I used a violet photo filter at about 75% density.
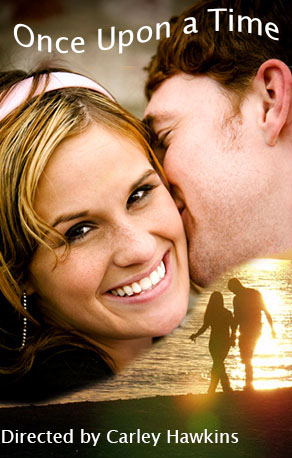
This image also uses a mask layer to show an image underneath the photo. WIth the brush tool I exposed the image of the couple walking on the beach.
|

I created this photo using a mask layer. The layer mask was added to the image of the books with the clouds showing through using the gradient tool.

This is an info graphic I created for another class in my department. The flyer was created to illustrate the dangers of climate change on Australia. For this project I was given a small amount of information with a few images and had to create an appealing info graphic. I used the colors of the text and heading to bring out different parts of important images. I also created a light neutral background using the gradient tool that changes the background from cream to white to make the graphic more dynamic. In this graphic I also used my knowledge of AIDA to get people attention and keep them interested in the graphic with a call to action at the bottom. For more information on AIDA see my blog post.

For this photo I changed the sky to a more appealing sky by selecting a more appealing looking sky with the quick select tool and added that layer to my current image. I also did some basic editing by strengthening the photo and removing unwanted objects.

This image was created using the quick select tool. I would copy and paste the different vegetables onto the image to create a face.
|
